Make It Urs
TL;DR
Most restaurant menu design services are built to make one good-looking menu, and they do that well. If you run two or more locations, the harder job is keeping every version of that menu matching, so hire for a written standard and one master file, not just a nice layout. This guide covers what these services cost, what to ask for, and 7 steps to get one menu standard across dine-in, to-go, boards and online.
What restaurant menu design services actually sell
When an owner searches for restaurant menu design services, the results are mostly the same kind of offer: a designer or a tool that produces a menu file. You send your dishes and prices, you get back a layout, and you print it or post it online. That is useful, and for a single restaurant with a simple menu it may be all you need.
The offers differ in how they price and deliver that file. Some charge per page, some by the hour, some by the menu, and some sell a monthly subscription. The sections below walk through what is typical and what each model leaves out, because the gap between "a good menu file" and "a menu that stays right at every location" is where most multi-location groups run into trouble.
What menu design services cost
Prices vary a lot, and the published numbers are a reasonable way to see the range. These are the ones we found on provider websites in November 2026:
- Menu Surgeon lists restaurant menu design starting at $100 per page, where a standard 8.5 by 11 inch one-sided menu counts as one page and an 11 by 17 double-sided menu counts as four pages. Source: https://menusurgeon.com/pricing/
- Menugo states its services start at $30 per hour, with unlimited revisions. Source: https://menugo.com/Custom-Restaurant-Menu-Design
- Design My Menu lists a single-page menu at $10 and a trifold menu at $45. Source: https://www.designmymenu.com/us/menu-design-services
- Flapjack sells a flat monthly plan with unlimited custom menus and a stated three-business-day turnaround; the price is on its pricing page. Source: https://www.flapjack.co/pricing
- The Foody Gram, a competitor that sells its own service, says freelance menu designers on Fiverr typically charge $50 to $300 per project and that menu-maker software runs around $10 to $25 per month. Treat these as that company's estimate: https://www.thefoodygram.com/blogs/restaurant-resources/restaurant-menu-design-service
Two things stand out. First, nearly every price is per menu or per page, which is fine for one restaurant but adds up quickly when each location has a dine-in menu, a to-go menu, boards and a catering menu. Second, none of these prices include the work of keeping the menus aligned after the first delivery. That work is yours unless you arrange otherwise.
Why menus drift once you have a second location
At one location, the menu goes through you. You approve the wording, you check the prices, and you notice when the board behind the counter says something different from the printed menu.
At location two, the work spreads. A manager updates a price on the to-go menu. Someone at the second store makes a sign for a new drink in whatever app is on their phone. The online ordering menu gets edited by a third person. None of these people are doing bad work. There is simply nothing holding the versions together, so they slowly come apart. Guests notice before you do: a dish that costs one thing on the board and another at the register, or a photo that doesn't look like the plate in front of them.
A menu design service that delivers a file does not prevent this, because the problem starts after delivery. The steps below are about the system around the design: who owns the master, how a change travels, and how every format is made from the same source.
The 7 steps
Step 1: Decide what each menu has to do
Before anyone opens a design file, agree on the job. In our work, every menu, sign and post is built to do one of three things: bring in new guests, sell a specific dish, or bring regulars back. A dine-in menu for a busy brunch spot has a different job from a catering menu sent to office managers, and both differ from a board that has to be read from the back of a line.
Write the goal down in one sentence for each menu you make. It settles a lot of later arguments, such as whether a dish deserves a photo or whether a section should exist at all. It also gives any outside service a clear brief, which is the fastest way to get a useful first draft.
Step 2: List every place your menu appears
Walk each location and make a simple list of every surface that shows dishes or prices. For most groups that list is longer than expected:
- The dine-in menu
- The to-go menu
- Menu boards or TV screens behind the counter
- Table tents and counter cards for specials
- The menu page on your website
- Online ordering and delivery app listings
- The menu link on your Google Business Profile
- Catering menus
- Shelf and item labels for grab-and-go products
Next to each one, note who edits it today and what file or tool it comes from. This list becomes your map. Any surface without a clear owner is where drift will start. It is also the list you should hand to any menu design service you consider, because it shows them the real scope, which is usually larger than "design a menu."
Step 3: Look at the numbers before the layout
Design can only help the dishes you choose to feature, so choose them carefully. Menu engineering is the standard way to do this: sort every item by how often it sells and how much it earns after food cost. Items that sell well and earn well get the best placement. Items that earn well but sell slowly may need a better description, a photo or a better spot. Items that do neither are candidates to cut.
Pull sales data from your point-of-sale system for every location, including the flagship. A dish that carries one store can sit untouched at another, and the menu at each location should reflect that within the same overall standard. Some services do this analysis and some only do layout, so ask which one you are buying. Menugo, for example, describes menu engineering as part of what it offers, and Menu Surgeon prices a separate sales review from its design work.
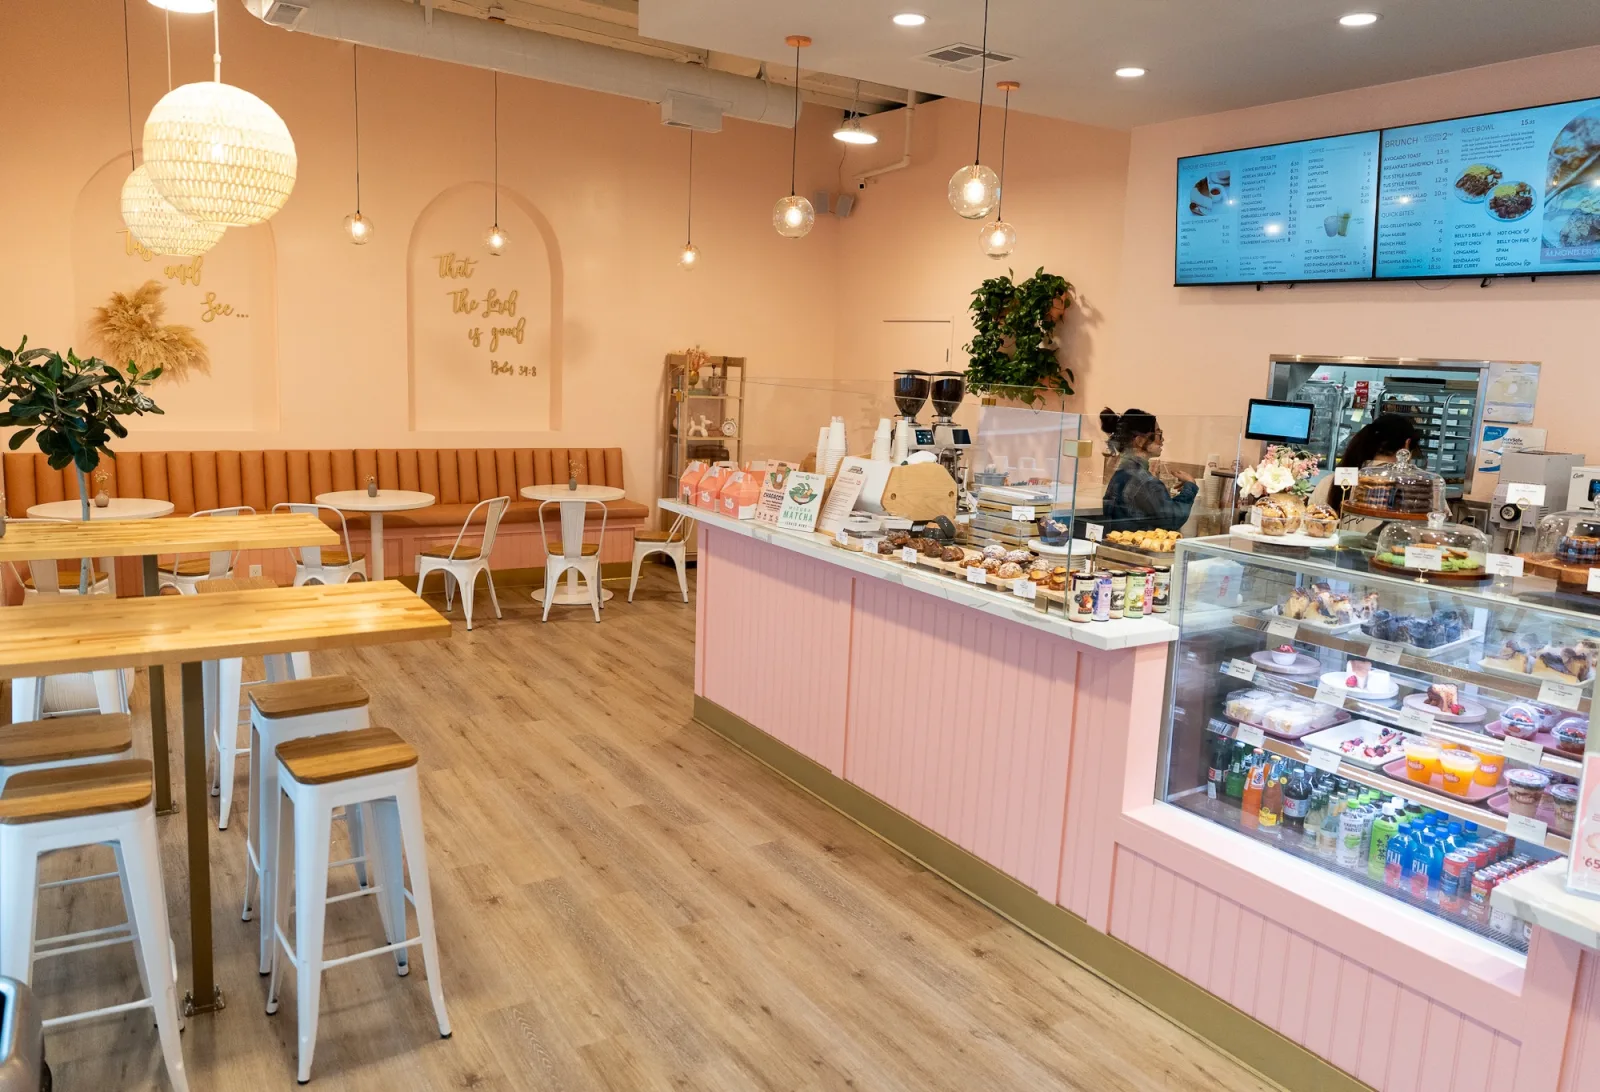
Take Ur Seat in Chino Hills and Take Ur Seat Too in Ontario already share a brand and a menu. Both locations are listed on takeurseat.com, and both point guests to the same menu page. When two rooms share a menu like that, still pull sales data for each location. A dish that carries one room can sit untouched at the other, and the placement in each room should follow those numbers within the same overall standard.
Step 4: Write the menu standard down
This is the step most groups skip, and it is the one that keeps location five looking like location one. A menu standard is a short document anyone on your team, or any outside designer, can follow. It should cover:
- Fonts and sizes for section headings, dish names, descriptions and prices
- Brand colors, and which ones are allowed on menus
- Photo rules: angle, lighting, background, and which dishes get photos
- How dishes are named, so "Spicy Chicken Bowl" never becomes "Chicken Bowl (Spicy)" at another store
- How prices are written, including whether you show a dollar sign or cents
- How descriptions are written: length, tone, what to mention
- Dietary and allergen icons, and what each one means
If you run more than one concept, each concept can keep its own look and still follow shared rules. When TUS Lite opened, its look was built from the flagship's brand rules rather than drawn from scratch. The two concepts feel different, but they come from the same standard and the same team.
Step 5: Build one master file and make every version from it
Keep one master file for each concept's menu. It holds every dish name, description, price and photo. Every other version, whether it is the dine-in menu, the to-go menu or the board, is made from that file rather than retyped.
This is how we work with the Take Ur Seat family. The dine-in menu uses the same files as the takeaway menu, and the boards behind the counter are updated alongside the kitchen. When a price or a dish changes, it changes once, in the master, and then flows out to each format.
If locations have different prices, keep them in the same master with a column per location. One file with clear location columns is much easier to manage than separate files that slowly disagree. Whoever you hire, make sure the contract says you receive the source files, not only a PDF. Without source files, every change means paying the same service again or starting over.
Step 6: Lay out each format for the way people actually read it
Now the design itself. A few principles hold across almost every format:
Keep sections short. Common guidance from menu engineers is to keep each category to roughly six to eight items. Fewer choices make ordering faster and are easier on the kitchen.
Order sections the way people eat. Drinks and starters, then mains, then sides and desserts. Guests find what they want faster when the menu follows the meal.
Give your best dishes the best spots. The top of each section and the area the eye lands on first are where your strongest sellers belong. Boxes, borders or a single photo can pull attention to one dish. Use them sparingly, or nothing stands out.
Leave white space. A crowded menu is tiring to read. Space between sections helps guests scan.
Write prices plainly. Many operators drop the dollar sign and keep prices aligned after the description, not in a column that invites comparison shopping.
Design for the format. A board has to be read from several feet away, often over someone's shoulder. A to-go menu gets folded and stuck on a fridge. An online menu is read on a phone with one thumb. Same content, different layout.
Make it readable for everyone. Use strong contrast between text and background and avoid tiny type. Online, put the menu on a real web page instead of a PDF, so it loads fast on a phone and works with screen readers.
Step 7: Set a change routine and stick to it
A menu is never finished. Prices move, dishes rotate, and seasonal items come and go. Decide in advance how a change travels:
- 1.The change is approved by one person.
- 2.It is made in the master file.
- 3.Every affected surface is updated together, at every location, on the same day.
- 4.Someone checks each location's menus, boards and online listings against the master.
At Take Ur Seat, when a new drink lands, the menu board, the shelf label and the post go out together, at every location. Seasonal campaigns run to the calendar, with flyers and signage prepared ahead of each date rather than during it. That rhythm is what keeps guests from seeing three different versions of the same drink. Ask any service you hire how it handles a change at 4 p.m. on a Friday, because that is the real test of the arrangement.
How to choose a menu design service for a group
With the steps above in hand, the buying decision gets simpler. Ask each service the same five questions. Do you work from my sales data or only my text? Do I receive editable source files? How do you handle changes after delivery, and how fast? Can you make the dine-in menu, the to-go menu, the boards and the online menu from one file? Who is my one point of contact? A service that answers all five clearly is built for a group. A service that answers "we deliver a print-ready PDF" is a good fit for one restaurant and a risk for several.
None of this means the lower-cost options are a mistake. A template tool or a freelancer is a sensible choice for a first restaurant or a one-time redesign. The comparison below shows where each approach fits.
Templates, freelancers or a standard: how they compare
| Compared on | Free template tools | Freelance designer per piece | Written standard and one team |
|---|---|---|---|
| Speed for a single quick menu | Fast | Depends on availability | Fast once the standard exists |
| Consistency across locations | Up to whoever edits it | Depends on the brief each time | Built in |
| Who holds the master file | Often no one | Varies | Your team, always |
| Covers boards, to-go and online | Each made separately | Usually one piece at a time | All from the same file |
| Uses your sales data | No | Rarely | Yes, as part of the brief |
| Best for | One location, simple menu | A one-off redesign | Two or more locations or concepts |
Your multi-location menu checklist
- Each menu has a one-sentence goal
- Every surface that shows dishes or prices is listed, with an owner
- Sales and food cost data reviewed for each location
- Menu standard written down: fonts, colors, photos, names, prices, icons
- One master file per concept, with location columns for prices if needed
- Dine-in, to-go, boards and online menus all made from the master file
- Source files included in whatever service you hire
- Sections kept short and ordered the way guests eat
- Best-selling, best-earning dishes in the best spots
- Text readable at a glance, with strong contrast
- Online menu is a real web page, not a PDF
- Change routine agreed: who approves, where it is changed, who checks
- Seasonal menu dates on the calendar ahead of time
Where to go from here
If you run one restaurant and a simple menu, pick a service on price and portfolio and move on. If you run two or more locations or concepts, spend the first week on steps 2 and 4: the list of surfaces and the written standard. Those two documents make any designer you hire, including us, faster and cheaper to work with, and they are yours to keep either way.
If you want a straight look at whether we are the right team for that work, request a 30-minute call.
FAQ
How much does it cost to get a menu designed?
Published prices range widely. Menu Surgeon lists $100 per standard page, Menugo starts at $30 per hour, and Design My Menu lists single-page menus at $10. Multiply by every menu and location you run, and ask what changes cost afterward.
How big should a restaurant menu be?
There is no single right length. A common guideline is six to eight items per section, so guests can scan it and the kitchen can keep up. For a group, keep the same structure at every location and only vary items when the sales data supports it.
How can I design a menu for my restaurant?
Set the menu's goal, list your dishes with sales data, group them into short sections, write the standard for fonts, photos and prices, then lay out each format. For several locations, build from one master file.
Where can I design my menu for free?
Canva has a free plan with limited templates, and iMenuPro offers a free trial. Both produce a file you manage yourself. They suit one location. At several locations, the cost shows up as inconsistent menus.
Where can I find a menu designer?
Options include freelancers on Fiverr or Upwork, menu design companies, and your food distributor, since US Foods offers menu design to its customers. For several locations, choose one who gives you source files and handles changes.
Sources
- Menu Surgeon, pricing ($100 per page; page definitions): https://menusurgeon.com/pricing/
- Menugo, custom restaurant menu design (from $30 per hour; menu engineering): https://menugo.com/Custom-Restaurant-Menu-Design
- Design My Menu, menu design services (single-page $10, trifold $45): https://www.designmymenu.com/us/menu-design-services
- Flapjack, custom menu design and pricing (flat monthly plan, three-day turnaround): https://www.flapjack.co/ and https://www.flapjack.co/pricing
- The Foody Gram, "5 Best Restaurant Menu Design Service Options for 2026" (Fiverr and software price estimates, Canva free plan): https://www.thefoodygram.com/blogs/restaurant-resources/restaurant-menu-design-service
- iMenuPro (free trial, printed and QR menus kept in sync): https://imenupro.com
- US Foods, Restaurant Menu Design (offered to US Foods customers): https://www.usfoods.com/tools-tips-and-ideas/tools/menu-design
- TouchBistro, "A Guide to Restaurant Menu Design, Menu Layout & Menu Size": https://www.touchbistro.com/blog/restaurant-menu-design/
- W.B. Mason, "How to Create a Menu for a Restaurant" (6 to 8 items per category): https://www.thewbdelivery.com/how-to-create-a-menu-for-restaurant/
- Grubhub for Restaurants, "Restaurant menu design: 8 ways to upgrade your menu": https://get.grubhub.com/blog/restaurant-menu-design/
- Take Ur Seat, homepage, locations and menu (Chino Hills and Ontario listed; both use https://takeurseat.com/menu): https://takeurseat.com/, https://takeurseat.com/page/locations and https://takeurseat.com/menu
- Make It Urs, homepage (Take Ur Seat family work): https://www.makeiturs.co/